Side panels
Silo has two side columns — left and right — each hosting one or more panels. Panels hold workspace-level tools: file browsing, search, git, themes, and anything added by extensions. The center area is always the primary focus; the columns are secondary, collapsible surfaces.
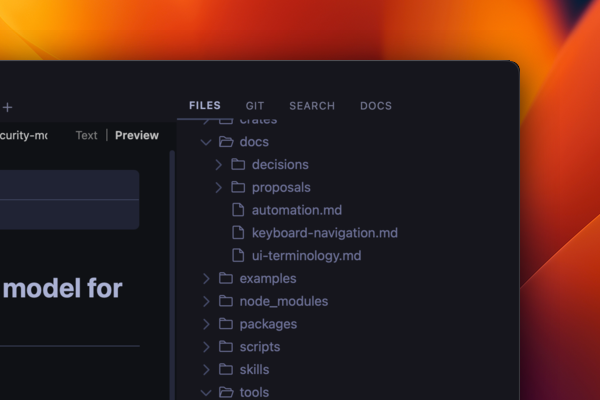
Built-in panels
Left column
| Panel | What it shows |
|---|---|
| Workspaces | All open workspaces; click or press Enter to switch |
Right column
| Panel | What it shows |
|---|---|
| Files | File tree for the active workspace |
| Search | Cross-file content search |
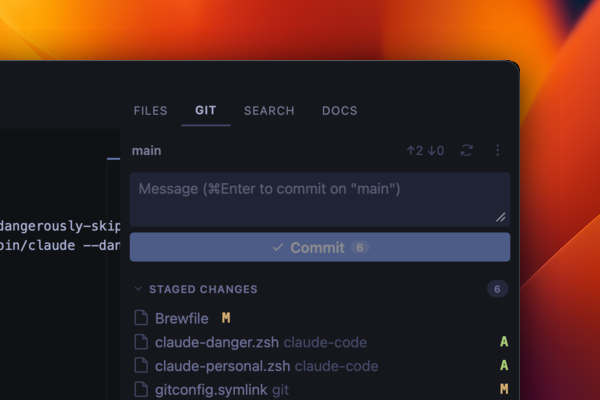
| Git | Staged/unstaged changes, commit, branch + worktree switchers |
| Themes | Live theme preview and picker |
Extensions can add panels to either column — see Extensions.
Git worktrees
The Git panel's ⋯ → Manage worktrees… lists every git worktree of the repo — including ones created outside Silo (say, by a coding agent) — no matter where they live on disk. When the manager would list more than the main worktree, a worktrees icon appears in the Git header (before ⋯) as a shortcut into the same modal; the tooltip shows the count. On a linked worktree view the icon is omitted — click the worktree pill instead. From the manager you can:
- Open a worktree alongside the current folders (click its row). It appears as an extra root in both the Files panel and the Git panel — the same multi-root convention as workspaces with several folders — with its own branch, commit box, and changes. Close worktree view later removes just that root; the worktree on disk is untouched.
- Create a worktree on a new or existing branch. The suggested location is a sibling directory named
<repo>-<branch>, which keeps the checkout out of the main repo's file watcher and git status; the path is editable. (If you place a worktree inside the repo, add its directory to.gitignoreso the main view's status doesn't fill with its files.) - Remove a worktree — deletes its directory but keeps the branch. A worktree with uncommitted changes asks for a force-remove first. While the directory is deleting (large trees can take a while), the manager row shows removing…, a StatusBar item tracks progress, and you can dismiss the manager — the remove keeps running. An open folder for that worktree closes as soon as remove starts. Prune stale clears bookkeeping for worktrees whose directories were deleted manually.
A Git view whose root is a linked worktree shows a small worktree pill next to its branch name (click it to open the worktree manager), and its ⋯ menu gains Close worktree view and Remove worktree….
Organizing panels
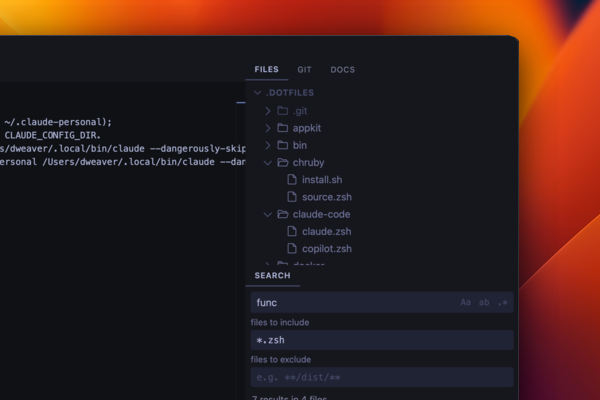
Panels can be rearranged between columns at any time by dragging their tab to the opposite column's tab bar. You can also stack multiple panels in the same column — drag a panel's tab onto another column to drop it there, and it joins any panels already open in that column. The column grows a tab strip so you can switch between stacked panels with a single click.
Showing and hiding columns
Status bar — the two column-toggle buttons sit at the far left of the status bar. Click the left one to show or hide the left column; click the right one for the right column.
Keyboard — the View menu drives the same toggles:
| Action | Mac | Windows / Linux |
|---|---|---|
| Toggle left column | ⌘⌥[ | Ctrl+Alt+[ |
| Toggle right column | ⌘⌥] | Ctrl+Alt+] |
You can also rebind these — see Keyboard navigation.
Switching panels within a column
When a column has more than one panel, the panel icons appear along the column's edge. Click an icon to bring that panel to the foreground. The column expands automatically if it was collapsed.
Moving focus between columns and the center
Keyboard focus follows a left → center → right cycle. To move between regions without the mouse:
| Action | Mac | Windows / Linux |
|---|---|---|
| Focus next region | ⌘⌥. | Ctrl+Alt+. |
| Focus previous region | ⌘⌥, | Ctrl+Alt+, |
Collapsed or empty columns are skipped. Once focus is inside a column, use Tab to move between controls within the panel.
Navigating tabs in the center dock
The center area can hold multiple tab groups, split horizontally or vertically.
| Action | Mac | Windows / Linux |
|---|---|---|
| Next tab | ⌘⌥→ | Ctrl+Alt+→ |
| Previous tab | ⌘⌥← | Ctrl+Alt+← |
| Next split group | ⌘⌥↓ | Ctrl+Alt+↓ |
| Previous split group | ⌘⌥↑ | Ctrl+Alt+↑ |
See also
- Extensions — install panels contributed by extensions
- Workspaces — the Navigator's Workspaces view in detail
- Keyboard navigation — building keyboard-navigable panels (extension authors)